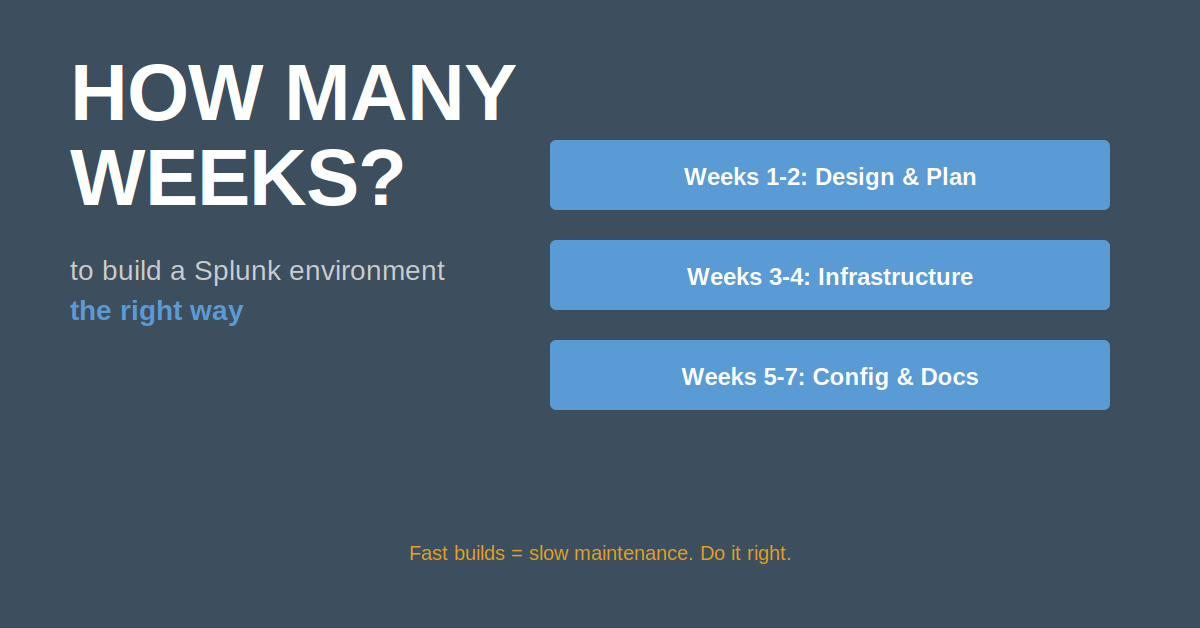
"We're building a new Splunk environment. What's the fastest way to get it done?"
Wrong question.
The fastest way to build a Splunk environment is the slowest way to maintain one. Here's what 20+ years of engineering experience, including 7 years designing production Splunk deployments, taught me.
The Build Fast, Regret Later Approach
Early in my career, I built a Splunk environment in 2 weeks. Client was thrilled with the speed.
Six months later:
- No documentation
- Config files scattered across servers
- No naming conventions
- Manual deployments only
- Impossible to troubleshoot
I spent the next 3 months fixing what should have been done right the first time.
The Right Way: Plan, Build, Document
Phase 1: Architecture Design (Week 1-2)
Before installing anything:
☑ Document infrastructure requirements
☑ Define naming conventions for all components
☑ Plan index strategies and retention policies
☑ Design network topology and firewall rules
☑ Create role/permission model
☑ Define data onboarding standards
I use a simple naming convention:
- Indexers:
splunk-idx-[environment]-[number](e.g., splunk-idx-prod-01) - Search heads:
splunk-sh-[environment]-[number] - Deployment server:
splunk-ds-[environment] - License master:
splunk-lm-[environment]
This makes it obvious what role each server plays.
Phase 2: Base Infrastructure (Week 3-4)
Install Splunk on all servers using automation:
# Ansible playbook for consistent installation
- name: Install Splunk
  include_role:
    name: splunk_install
  vars:
    splunk_version: "9.2.0"
    splunk_home: "/opt/splunk"
    splunk_user: "splunk"
    splunk_group: "splunk"
Key decisions:
- Where is $SPLUNK_HOME? (/opt/splunk)
- Separate volumes for hot/warm vs cold?
- DNS vs IP addresses? (Always DNS)
- SSL certificates from day 1? (Yes)
Phase 3: Core Configuration (Week 5-6)
Configure essential components:
- Index definitions - Create all indexes before onboarding data
- Authentication - LDAP/SAML integration, not local accounts
- Roles and permissions - Following least-privilege principle
- Deployment server - Set up app distribution mechanism
- Search head clustering (if applicable)
- Indexer clustering (if applicable)
Phase 4: Monitoring Setup (Week 7)
Before onboarding any production data, implement monitoring:
☑ DMC (Distributed Management Console) configured
☑ Health checks enabled
☑ Capacity monitoring alerts
☑ License usage tracking
☑ Forwarder connectivity alerts
☑ Queue blockage alerts
☑ AI threat detection (if your environment includes ML/AI systems)
This catches problems BEFORE they affect users.
If your environment includes AI or machine learning systems, add the MITRE ATLAS AI Threat Detection app for Splunk to your baseline stack. It's free on Splunkbase and maps adversarial AI techniques directly to detection content you can deploy from day one: splunkbase.splunk.com/app/8527
For CIS benchmark compliance, the Compliance Posture app for Splunk ingests CIS-CAT Pro ARF XML scan results and provides continuous posture trending — build compliance monitoring into your environment from day one, not as an afterthought. It's free on Splunkbase: splunkbase.splunk.com/app/8501
Phase 5: Documentation (Throughout)
Document everything as you build:
- Architecture diagrams (Visio, Draw.io)
- Network topology with IPs and ports
- Index retention policies
- Data onboarding procedures
- Troubleshooting runbooks
- Disaster recovery procedures
I maintain a "Build Book" for every environment—a single document that explains how everything works.
Real Case: The Inherited Environment
I once inherited a Splunk environment with zero documentation. Previous admin had left 6 months prior. Nobody knew:
- Which apps were in use
- What indexes contained
- Why certain configs existed
- How to add new data sources
We spent 4 weeks reverse-engineering the environment before we could safely make any changes.
Compare that to environments with proper documentation: changes take hours, not weeks.
The Decisions That Matter
1. Indexer Cluster vs. Standalone Indexers?
Cluster if:
- Data loss is unacceptable (high availability required)
- Search load requires multiple indexers
- You have staff to manage cluster complexity
Standalone if:
- Small environment (<100 GB/day)
- Budget constraints
- Limited staff
2. Search Head Cluster vs. Single Search Head?
Cluster if:
- Multiple concurrent users (20+)
- Dashboard/report load is high
- High availability required for search
Single if:
- Small team (<10 users)
- Limited use cases
- Budget constraints
3. All-in-One vs. Distributed?
All-in-one (single server) if:
- Proof of concept / test environment
- Very small deployment (<10 GB/day)
- Budget extremely limited
Distributed (separate indexers, search heads, etc.) if:
- Production environment
- Growth expected
- Multiple use cases
The Automation That Saves You
I use Ansible to manage Splunk environments. Every configuration change goes through code:
# Deploy new index via Ansible
- name: Create security index
  splunk_index:
    name: security
    homePath: "volume:hot_warm/security/db"
    coldPath: "volume:cold/security/colddb"
    maxDataSizeMB: 1024
    frozenTimePeriodInSecs: 31536000
Benefits:
- Configuration version controlled (Git)
- Changes are auditable
- Rollback is simple
- Disaster recovery is automated
The Testing You Can't Skip
Before going to production:
1. Failover Testing
Simulate indexer failure, verify cluster rebalances correctly
2. Load Testing
Inject test data at 3x expected daily volume, measure performance
3. Backup/Restore Testing
Actually restore from backup, verify everything works
4. Disaster Recovery Testing
Simulate complete environment failure, practice rebuild process
The Build Timeline That Actually Works
Here's my realistic timeline for production Splunk environment:
- Week 1-2: Architecture design and documentation
- Week 3-4: Infrastructure setup
- Week 5-6: Core configuration
- Week 7: Monitoring and alerting
- Week 8-9: Pilot data onboarding (5-10 data sources)
- Week 10: Load testing and tuning
- Week 11-12: Production cutover
Total: 12 weeks from kickoff to production
Can it be done faster? Sure. But you'll pay the price in technical debt.
The Takeaway
Building a Splunk environment right takes time. But building it wrong and fixing it later takes even more time.
Invest the effort up front:
- Plan before you build
- Document as you go
- Automate everything
- Test thoroughly
Your future self will thank you.
Have you inherited an undocumented Splunk environment? Share your horror story in the comments.
P.S. Whether it's an environment that needs rebuilding, performance that needs rescuing, or a data onboarding challenge that's been stuck for months — this is what I do. If any of this resonated, send me a message. I'm always happy to talk through what you're facing.